



 View All

Candle Testing Kit: Essential Supplies for Better Handmade Candles
Sona MelikyanMaking a beautiful candle starts with choosing your wax, fragrance, and container—but creating a candle you can confidently make again takes careful testing. Even a small change to your recipe can affect the finished result, which is why an organized candle testing kit belongs in every maker’s workspace. Whether you are pouring your first batch, developing gifts, or preparing a collection for your small business, having the right supplies helps you compare recipes and keep useful records. Your kit does not need to be complicated or expensive. Start with a manageable selection of materials, reliable measuring tools, and a simple system for tracking each candle you make.
What Is a Candle Testing Kit?
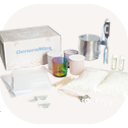
A candle testing kit is a collection of materials and tools used to make sample candles, observe their performance, and document the results. Unlike a general candle making kit, it focuses on comparing specific combinations before you commit to a larger batch.
Your kit can include:
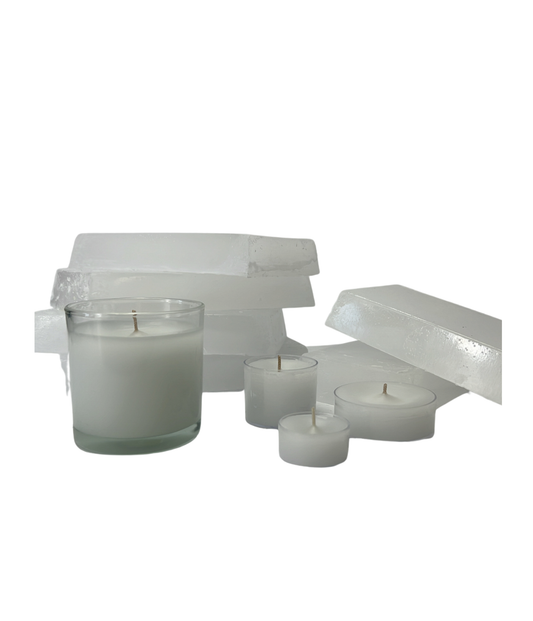
• Candle wax suited to your project
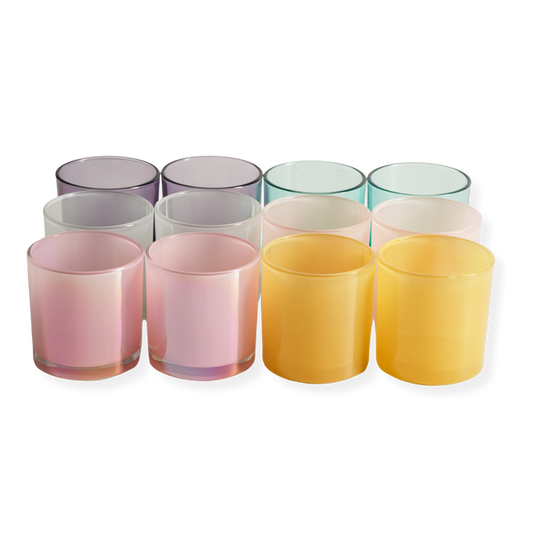
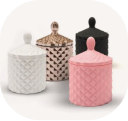
• Candle-safe containers
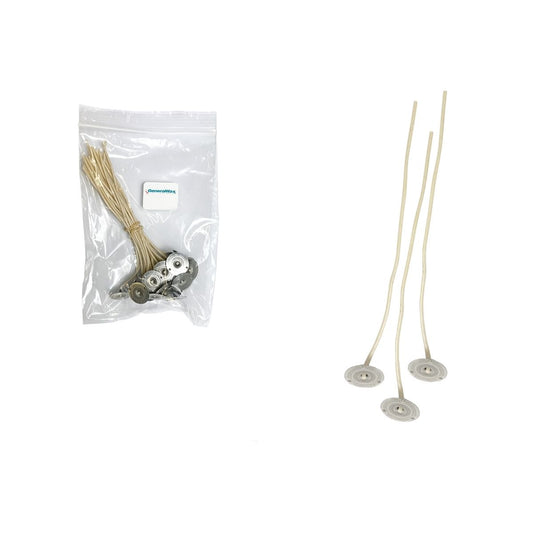
• Several wick sizes for comparison
• Candle fragrance oils
• Candle dye, if included in your final recipe
• A digital scale and thermometer
• A pouring pitcher and stirring tool
• Wick holders and suitable wick adhesive
• Labels, a timer, and a testing notebook
Keeping these supplies together makes it easier to repeat your process and understand what changed between batches.

1. Start With One Candle Wax
When you are beginning a new project, choose one wax and become familiar with its supplier instructions. Testing several waxes, fragrances, and containers at once can make it difficult to identify why one candle performs differently from another.
Select wax intended for the type of candle you want to make. For example, a container candle and a freestanding pillar have different requirements.
Record the wax name and product information in your notebook. Follow the supplier’s guidance for processing temperatures, fragrance usage, and curing rather than relying on one recipe for every wax.

2. Gather Wicks for Side-by-Side Testing
Wick selection is a central part of candle development. A wick guide offers a starting point, but testing your actual wax, vessel, fragrance, and dye combination helps you determine which wick performs best. Complete your burn testing and confirm your wick choice before evaluating hot throw—the fragrance your candle releases while burning.
For a useful comparison, prepare samples with the same wax, vessel, fragrance amount, and dye amount. Change the wick between samples so you can more easily connect differences in performance to that choice.

3. Use Matching Candle Containers
Use matching vessels when comparing recipes or wick options. Switching containers during the same comparison introduces another variable and makes your notes harder to interpret.
Choose containers intended for candle making and inspect each one before pouring. Do not use vessels with chips, cracks, or other visible damage.
Record the container’s product name and dimensions. Keeping a few extra matching vessels available lets you repeat a promising formula without changing your setup.

4. Measure Your Ingredients by Weight
Consistent measurements make your test batches easier to reproduce. A digital scale helps you record how much wax, fragrance oil, and dye goes into each sample.
Choose a scale with enough precision for your batch size, especially when measuring small ingredient amounts. Use the tare function to account for the weight of your measuring container.
Write down actual weights rather than notes such as “a little extra fragrance.” Clear measurements help you recreate a successful batch and compare it with later versions.

5. Include Your Final Fragrance and Color
If you plan to make a scented, colored candle, include those materials in the finished formula you evaluate. An unscented sample can help you learn your process, but it does not replace testing the recipe you intend to produce.
Use fragrance oils and dyes intended for candle making. Follow the applicable supplier limits and instructions for your chosen materials.
Give each fragrance or color variation its own identification label. This keeps similar-looking samples from getting mixed up.

6. Keep Your Preparation Tools Consistent
A thermometer, pouring pitcher, stirring tool, and wick holders help you prepare samples with a repeatable method.
Record the steps that matter to your recipe, including:
• Ingredient weights
• Processing and pouring temperatures
• Wick identification and placement
• Pour date
• Cure time before testing
You do not need complicated software. A notebook or spreadsheet works well when you use the same fields for every batch.

7. Set Up a Supervised Testing Space
Prepare a stable, heat-resistant surface away from drafts and combustible materials. Keep testing candles within sight and away from children and pets.
Follow the instructions applicable to your candle and wick. The National Candle Association’s general guidance includes trimming the wick to ¼ inch before use, limiting burns to no more than four hours, and stopping container-candle use when approximately ½ inch of wax remains.
Use a timer to record observations at consistent intervals. If you notice concerning behavior, extinguish the candle and investigate before continuing.

8. Create a Record for Every Sample
Give every candle a unique test number that matches its label and notebook entry.
Document what you observe, including flame behavior, visible smoke or soot, wax remaining on the container walls, and changes between burn sessions. Photographs can help you compare samples later.
Avoid judging a formula from appearance alone. A smooth top and attractive color are useful qualities, but they do not tell you how the finished candle performs.

Build Your Kit Before Your Next Batch
A well-organized candle testing kit helps turn each sample into useful information. Start with one wax, matching vessels, a few wick options, accurate measuring tools, and clear notes. As your projects grow, expand your kit around the materials you actually use.
Explore candle wax, wicks, fragrance oils, vessels, dyes, and equipment at General Wax & Candle to prepare for your next round of candle making.