


How to start your candle making project
BC
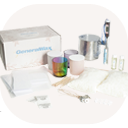
Candles as a source of light, have been used by humans since the 3rd millennium BC. Candles used to be very expensive, and only wealthy people could buy them. Nowadays, candles in different shapes, sizes, and scents are available to everyone. They are used in the interior for decoration or aromatherapy. When the pandemic hit the United States, many stayed home for safety purposes. Our research showed that while staying at home, many tried to find different interests and hobbies, and making a candle at home was and still is one of the most popular ones. Besides being a fun hobby, it is also an option to make personalized gifts for friends and family. As we have been receiving lots of emails and phone calls regarding handmade candles, we decided to write a step-by-step guide to educate you and make your candle making project safe and fun. These instructions will give you a good foundation for making soy wax candles at home. So, let’s get started! When you are starting out on your candle making project, first you want to choose your wax. There are different types of waxes such as soy wax, paraffin wax, even a soy/paraffin combination blend. Soy wax is a very good wax. Most people choose to use this wax because of its clean burn, but the most important feature is that the soy wax is a natural product. Here at General Wax & Candle, we purchase GMO free fragrances. We use GMO free oils to create our waxes. Check out our websites for more wax options: https://www.generalwax.com https://www.candlemakingsupplies.net Once you have your wax picked, next step is to pick a wick that will match the size of the candle jar you’ve chosen to work with. Be very careful about the size of the wick because, if you choose a wick that’s too big, it will burn your candle extremely fast. You will also get a huge flame. On the other side, a small wick will throw out a very small flame and you will not get a full melt pool. Below is the list of the materials we are going to use to create our candle. Note: you can order the supplies used in this guide from https://www.candlemakingsupplies.net. Materials needed:

 Step 2: Place the wick sticker on the bottom of the wick you chose and center the wick inside the candle jar.


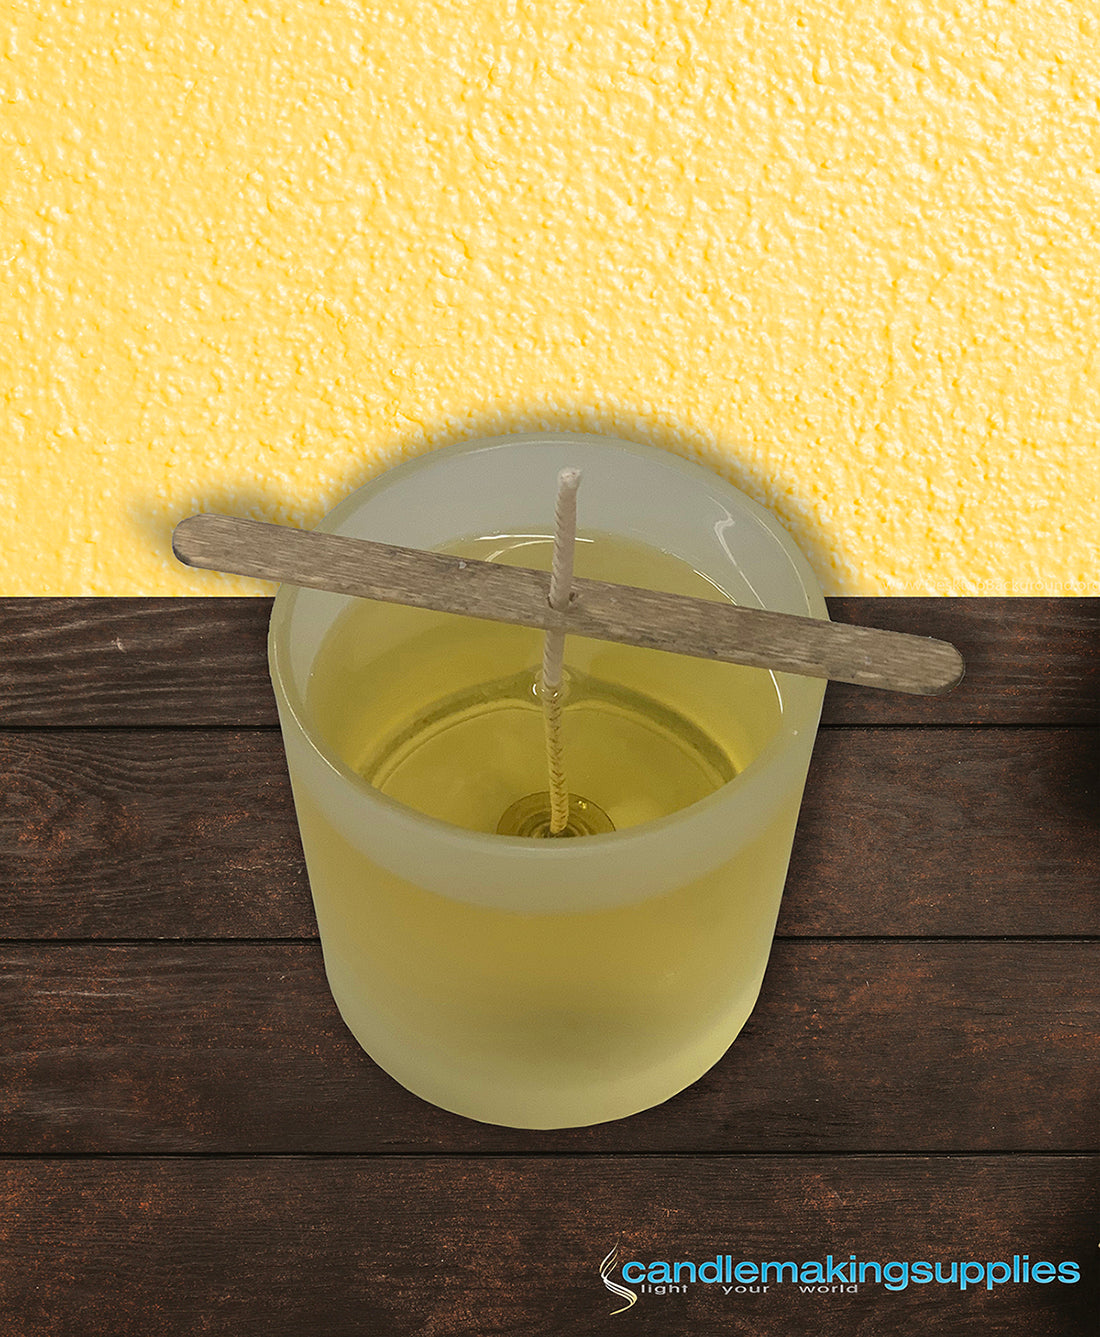
 Step 5: Let the candle cool about 12 hours at room temperature.


- Cargill c3 naturewax 100% soy wax
- Standard wick
- Wick sticker
- Wood wick bars
- Thermometer
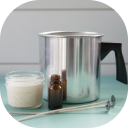
- A standard melting pitcher and a pot to use for double boiling
- Candle jar.
Step 3: When the wax temperature hits 170 F, carefully pour the wax into the candle jar. Note: you can use your leftover wax to later top your candle if a small cavity is formed.
Step 4: Place the wick bar with the center peak facing up on top of your jar. Pull wick taut and gently press wick into the opening of the wick bar.
Step 6: When the candle is cool, cut the wick to 1/4 inches.
Now you have your first handmade candle!
Candle making is an art that has survived for centuries. Diving into the art of candle making at home is another breathtaking hobby.