How to make Tea Light Candles in Five easy steps
ameravantShare
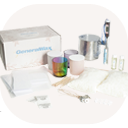
Check out our previous blog “The Basic Supplies For Making Tealight Candles” to learn about what exact products you will need for this project.
Step 1: Weigh and Melt Wax


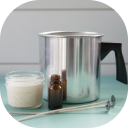
To begin, place your Melting pot on your scale then tare the weight of the melting pot. By doing so you will eliminate the weight of the pot, this is important because once you weigh out your wax you will only want the weight of your wax. Then weigh 1Ib of wax (100% Soy Wax or Soy and Paraffin blended wax) using a double boiler or hot plate heat your wax to approximately 185F if on stove top keep heat on low.
Step 2: Prep Your Candle tealight cups

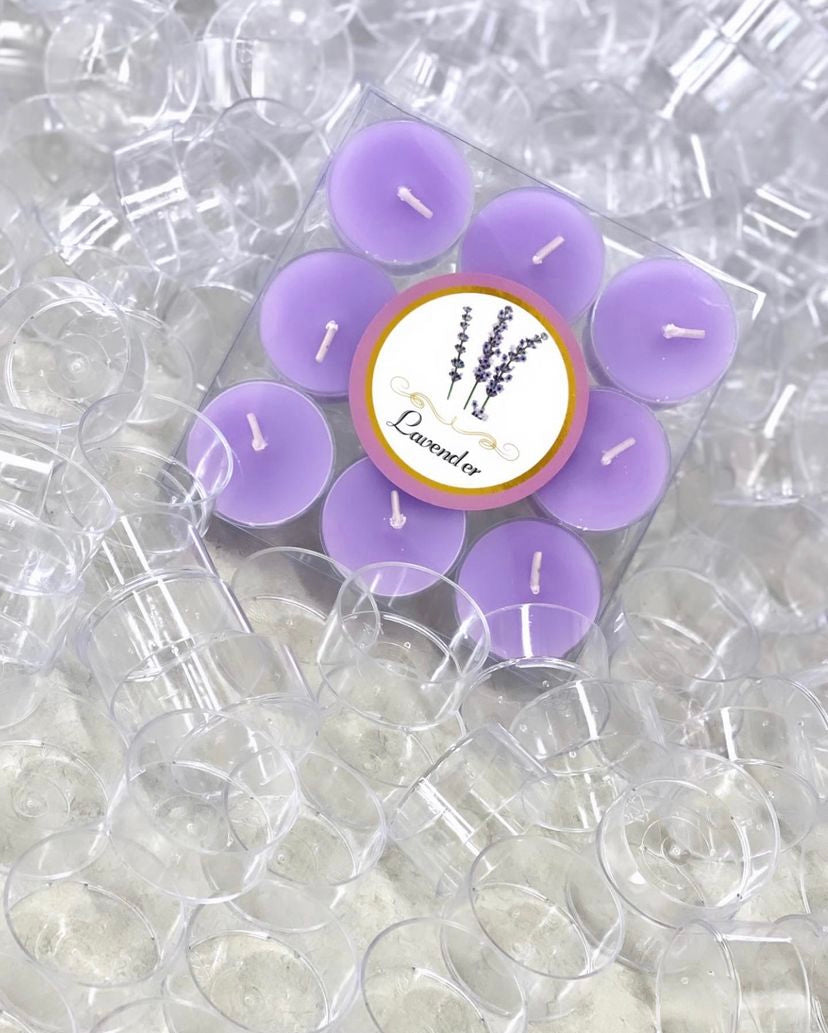
While your wax is melting, prepare your tealight cups; attach a glue dot to the bottom of your pre-tabbed wicks. Place a wick in the center of each of your tealight cups.
Step 3: Add Dye and Stir


Once your wax is fully melted add 1 to 2 drops of liquid dye of your choice, if you are using dye blocks/chips use only ¼ - ½ of a dye block and 1 chip per pound of wax being used. Then begin to gently stir your dye into your wax until your dye is fully blended into your wax.
Step 4: Add fragrance oil and Stir

Remove wax from the double boiler then add the fragrance oil of your choice. Add 1oz per pound of wax you are using and stir gently.
Step 5: Pour you wax into tealight cups


The final step to crafting your tealight candles is to pour. Once your wax has cooled to at least 135F it is safe to pour your wax into your tealight cups. Pour carefully and slowly making sure that your wicks are sticking straight up through the middle. After pouring, give your candles at least 24hrs to set.


